Image Map

7.31.2017

Little Boy Agenda with Nichol (and a video!)

Hello friends! Nichol here today with a Designer Series project featuring the Little Boy Agenda Stamp Set and coordinating dies. I've again used the Grid Window to frame up these images and added a sentiment with the Script Thanks Die, Thank You Wishes Stamp Set, and Framed Tags Park Avenue thought bubble die. A rainbow inked background is the perfect backdrop for these cute little guys!

ME_LittleBoyAgenda1

Images from the Little Boy Agenda Stamp Set were stamped on smooth white cardstock using black ink and colored in with Copic Markers. The images were die cut with the coordinating Little Boy Agenda Dies and set aside to work on the background.

A background was inked on Bristol Smooth Cardstock using Candied Apple, Spiced Marmalade, Fossilized Amber, Twisted Citron, and Salty Ocean Distress Oxide Inks. The background was spritzed with water from a Distress Sprayer and blotted dry with a paper towel. 

The Grid Window was die cut from smooth white cardstock and adhered over the rainbow background with thin foam adhesive.

ME_LittleBoyAgenda3

The Script Thanks was die cut from smooth white cardstock and inked with Salty Ocean Distress Oxide Ink for an ombre light to dark look.

A thought bubble from the Framed Tags Park Avenue Die Collection was die cut from black cardstock and stamped with a sentiment from the Thank You Wishes Stamp Set using Versamark Ink and heat embossed with white embossing powder.

The thanks greeting and thought bubble were adhered to the card as shown. The little boys were adhered to the windows using thin foam adhesive and the card was finished with Nuvo Crystal Glaze applied to the script greeting and some of the elements of the other images.

ME_LittleBoyAgenda2

To watch the creation of this little boy agenda thanks card from start to finish, click HERE to watch on my YouTube Channel or watch below:


Mama Elephant Supplies Used:

7.29.2017

FBA - Pumpkin with Anna

Hello everyone! Anna is here today with my card for this Favor Bag Accessory week. and for my project I picked FBA Pumpkin creative cuts. Just added few sweet tiny mice, that Are ready for the harvest! Big pumpkin for the small mice, and the sentiment is perfect here - dream big! 

Mama Elephant Designer Series: FBA Pumpkin @akossakovskaya @mamaelephant #cardmaking #mamaelephant 
I wanted to add some detailing to the pumpkin, so I made the stencil of the ordinary office paper - with the same pumpkin shape. And with the ink sponging I added the real look to my pumpkin.Also I colored with the green some details and also made the sky with two layers of the grass. 

Mama Elephant Designer Series: FBA Pumpkin @akossakovskaya @mamaelephant #cardmaking #mamaelephant 

And on this picture you can see a piece of the process - The stencil for the pumpkin and the result. It looks very good! 

Mama Elephant Designer Series: FBA Pumpkin @akossakovskaya @mamaelephant #cardmaking #mamaelephant Mama Elephant Designer Series: FBA Pumpkin @akossakovskaya @mamaelephant #cardmaking #mamaelephant  
The card supplies list: Mama Elephant stamps: Tandem Ride for cute tiny mice, Labeled Messages for the sentiment Mama Elephant creative cuts: FBA Pumpkin for the pumpkin, Tandem Ride coordinating Creative Cuts, Grassy Trio Distress Inks: Carved Pumpkin and Peeled Paint for the pumpkin and details, Mowed Lawns for the grass, Worn Lipstick and Salty Ocean for the sky Other: white card stock, black inks for stamping, Tombow Dual Brush pens for coloring, Distress Sprayer for spots, the glue, the foam tape.  

7.28.2017

FBA - Halloween with Pamela

Hello! This is Pamela on Mama Elephant's blog for a little project using the creative cuts FBA - Halloween. You might just scroll down to the photos and wondering "how is this Halloween?!" and you're right! I want to show you guys how I created something that's not a ghost, Frankenstein, mummy or Dracula! First, I cut out the face using FBA - Halloween and coloured them with copics. 

DS - FBA - 1 
 
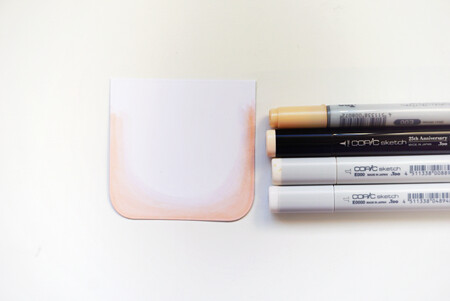
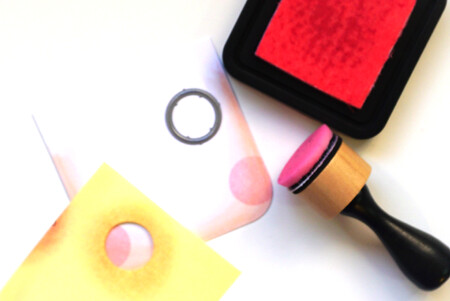
Copic Colours: E01, E00, E000, E0000 Next, I die cut a circle on a piece of post-it and gave her some blush.

 DS - FBA - 2 

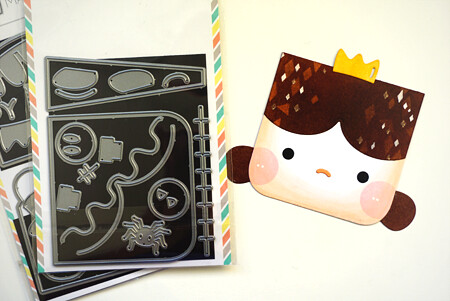
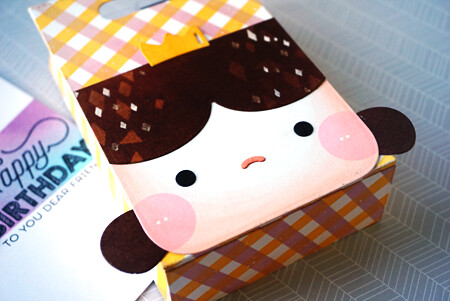
Along with the other Favor Bag Accessory creative cuts, I cut out the rest of the elements and adhered it onto the face to build a little princess.

 DS - FBA - 3 

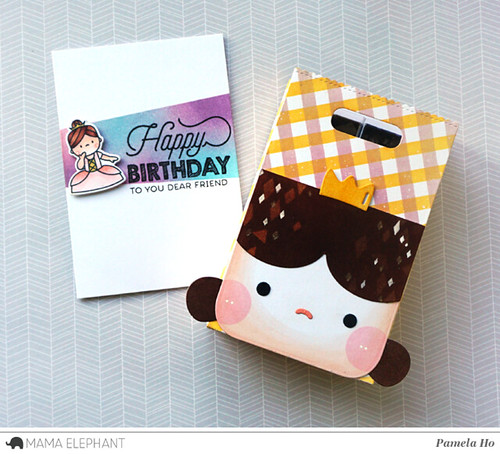
Hair - FBA - Halloween Dracula's hairline *flipped horizontally* Blush - FBA - Halloween Ghost's eye holes Crown - FBA - Cat Crown Pigtails - FBA - Bear Panda Eyes Nose - FBA - Halloween Nose So where did I get the inspiration for a princess? Of course it's from another Mama Elephant stamp set called Bootastic! So I created a card using the princess from that stamp set, but instead of a Halloween sentiment, I used a birthday sentiment. 

DS - FBA - 4 

Here's a close up of the favour bag accessory - Princess! 

DS - FBA - 5 

Thanks for stopping by!  

Supplies:  
Mama Elephant stamps: Surprise Sentiments, Bootastic  
Mama Elephant creative cuts: Bootastic, FBA - Halloween, FBA - Bear, FBA - Cat

7.27.2017

FBA - Halloween with Laura

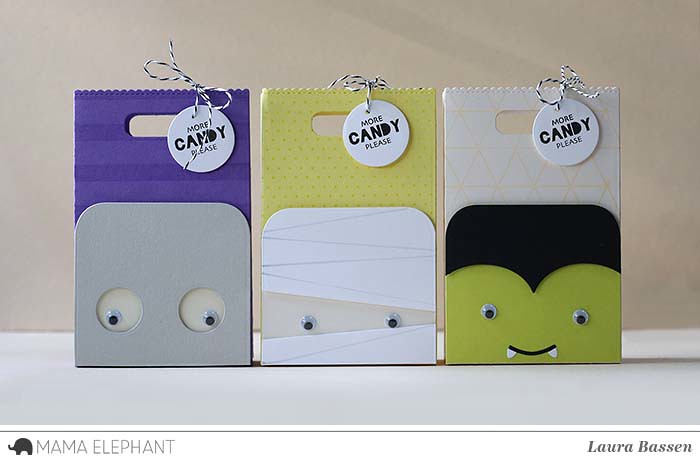
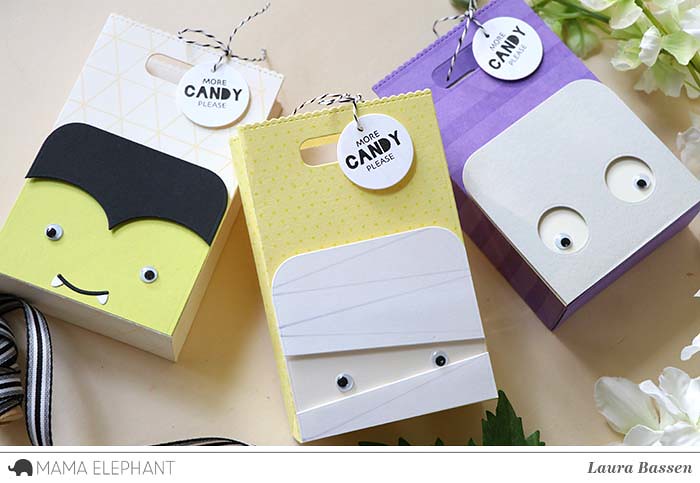
Hi there! Laura here and today I have a few little favor bags to share with you featuring the adorable Favor Bag Accessory-Halloween Creative Cuts.

Mama Elephant-Favor Bag Accessory-Halloween 
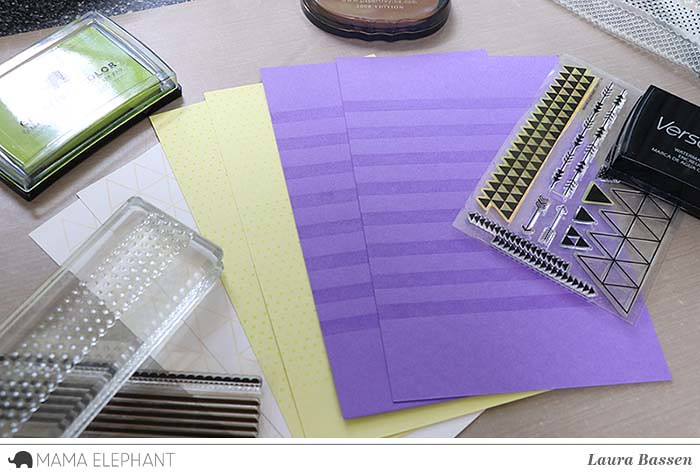
To add some detail to the favor bags I used a few borders stamps and stamped them onto colored cardstock. I used Trifecta on the cream cardstock, Boutique Borders on the lime cardstock and Basic Borders for the purple cardstock. 

Mama Elephant-Favor Bag Accessory-Halloween 
After stamping the borders onto the colored cardstock I used the Favor Bag-XL Creative Cut and adhered the bags with score tape. 

Mama Elephant-Favor Bag Accessory-Halloween 
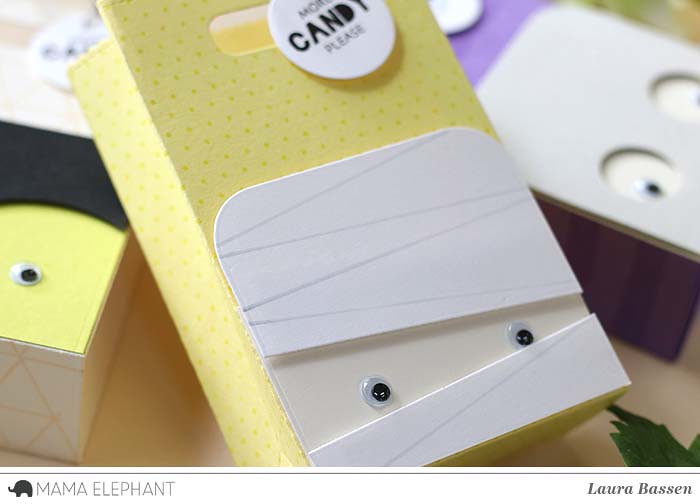
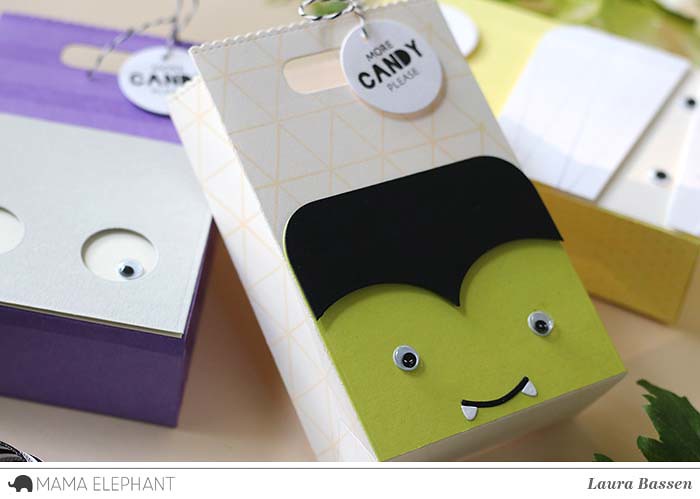
I added adorable faces to each bag using the Favor Bag Accessory-Halloween Creative Cuts. I created a mummy for this first one, adding googly eyes for fun. 

Mama Elephant-Favor Bag Accessory-Halloween 
Never realized how cute a little green vampire could be on a cream triangle favor bag:) These were so fun to make! 

Mama Elephant-Favor Bag Accessory-Halloween 
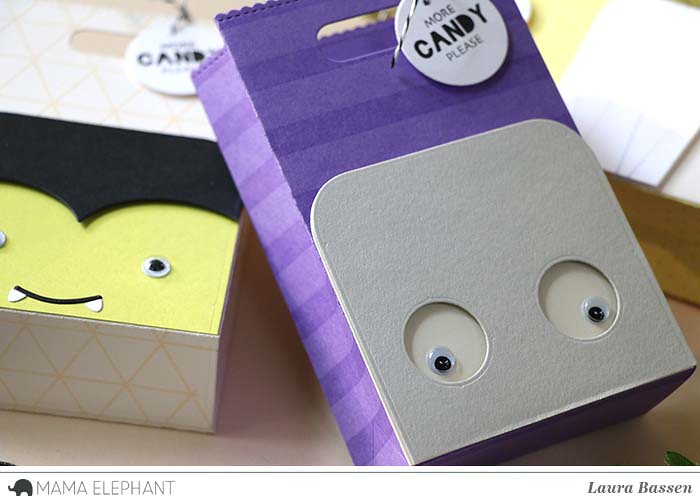
And lastly, a gray ghost one a purple striped favor bag. How cute are these faces with googly eyes? 

Mama Elephant-Favor Bag Accessory-Halloween 
I added some little tags using the Plushoween stamp set and the circle die from the Framed Tags-Chelsea Creative Cuts

FBA 3 
These little favors are definitely too cute to spook:) Thanks so much for stopping by!

7.26.2017

FBA HALLOWEEN WITH DEASY

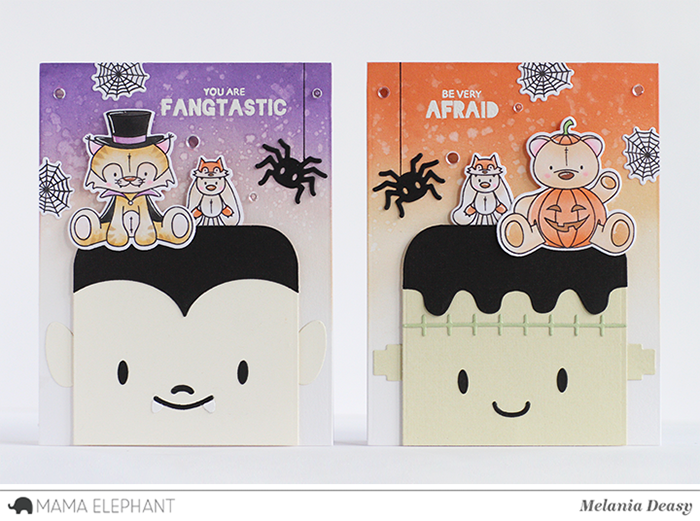
Hi all! Today I want to share my 2 cards featuring Favor Bag Accessory - Halloween. I combine it with Plushoween to made a cute set of Halloween cards. They look so cute together!


Mama Elephant supply that I'm using :
Plushoween for the halloween images and sentiment
Plushoween Creative Cuts to die cut the halloween images
Favor Bag Accessory - Halloween to die cut the Frankenstein head, Dracula head and black spider

I stamp the images then color it using copic then die cut it. To color the background, I'm using Dye Ink with blending tool then splash water with my brush. The sentiment is from white embossing powder


Thank you so much for stopping by!

Hugs,

Melania Deasy

7.25.2017

FBA - Halloween with Nichol

Hello friends! Nichol here today and I can't get enough of the awesome Mama Elephant Favor Bags and Add Ons. The newest Halloween Add Ons, are perfect not only for adorning the Favor Bags but for cards, scrapbook pages, decor, and more! 

ME_HalloweenFavorBags1

Dark gray cardstock was used to die cut each Favor Bags. Greetings from the Bootastic Stamp Set was stamped at the top of each bag front using Versamark Ink and heat embossed with white embossing powder.

The Halloween Favor Bag Add Ons were die cut from solid cardstock colors and assembled as shown. A different Halloween monster was adhered to the front of each bag. Detail was added to the images with a white opaque pen and Glossy Accents on the eyes.

Each bag was finished with twine tied into a bow and secured to the top of the bag with a mini clothespin. Gift tags from the Favor Bags were die cut from smooth white cardstock and the "to/from" greeting from the Surprise Sentiments was stamped on each mini tag.

ME_HalloweenFavorBags2

To watch the creation of these Halloween Favor Bags from start to finish, click HERE or watch below:


Mama Elephant Supplies I'm using:


7.24.2017

You're Invited to our NYC Party!

Mama Elephant is turning 5 and it's PARTY TIME!

Please save the date for September 9th, 2017 for Mama Elephant's 5th Year Anniversary event in New York City.


This year we will have 2 separate sessions so we can accommodate more people, so please plan accordingly! Registration fee is $10 per session per person.

Click HERE to purchase a Morning Pass for 11:30AM - 1:30PM

Click HERE to purchase an Afternoon Pass for 3:00PM - 5:00PM


Registered attendees will receive early shopping access to Mama Elephant's new Anniversary Release + deals, free make and takes, raffles and light refreshments on site!

 We are also giving away a 3x4 Mama Elephant stamp set for all registered attendees. The free exclusive stamp set was designed exclusively for the NYC party to celebrate 5 wonderful years of ME with YOU! Free stamp set will be available at the event only for registered attendees upon check-in.

We are also very honored to have Kathy Racoosin from The Daily Marker join us during her Coloring Challenge Road Trip! You would NOT want to miss her neat tricks and tips!


Please have your confirmation number with you at check-in and make sure you have the correct session time. Registration fees are final and non-refundable. One session per pass per person.

Spaces are limited. Registrations ends on 9/3/2017 EST or when all tickets are sold.

FBA HALLOWEEN WITH VERA

Hi everyone! It's me Vera, and I have FBA Halloween project to share with you :) 
I made Halloween treat boxes using Favor Bag - XL Creative CutsFBA HalloweenFBA Pumpkin and also FBA Cat.


First, I die cut FBA HalloweenFBA Pumpkin and also FBA Cat on color paper 80gsm except the purple one, I use AC cardstock. And then arrange it into Halloween character! It is so much fun!


I transform the bags that I die cut from Favor Bag - XL creative cuts into boxes, decorate with Halloween character and tada... they're turn so cute! I love them all


Here is the video to show how I transform the bags into the boxes


S U P P L I E S  L I S T :
Mama Elephant Stamp: Plushoween 
Mama Elephant Creative Cuts:
Favor Bag - XL for making the boxes
FBA Halloween, FBA Pumpkin, FBA Cat for making Halloween Characters
Thanks for stopping by

7.22.2017

Plushoween with Vera

Hello there! Vera here with another Mama Elephant Plushoween Inspiration. 
 Here, I combined the Plushoween set with Favor Bag Accessory - Pumpkin


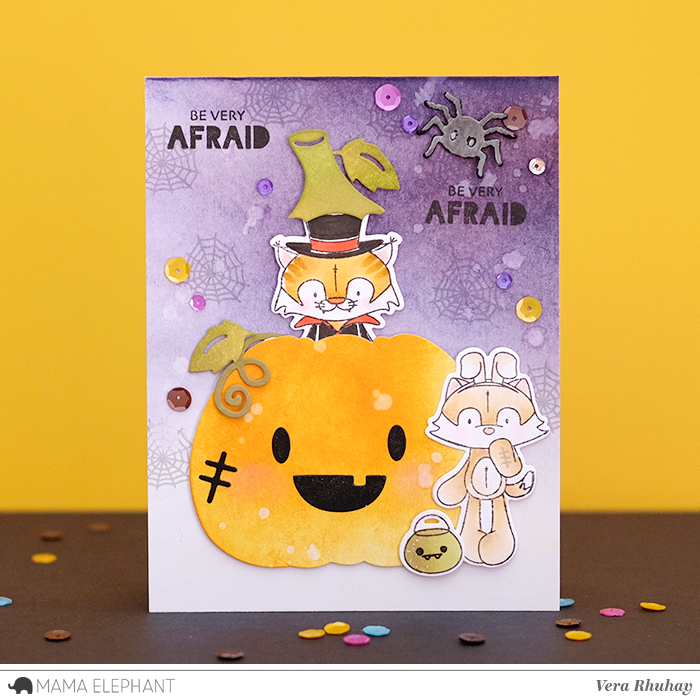
First, I stamped the images on Bristol paper, colored with copics and cut with Plushoween creative cuts. Next, I die cut the pumpkin on white cardstock, blended with distress ink and splash with water. I also did the same way for my based card.


I added spider and scar on pumpkin using creative cut from Favor Bag Accessory - Halloween and finished my card by adding here and there some sequins.


Supplies list:
Mama Elephant Stamp: Plushoween and Meowlloween for the face on bucket
Mama Elephant Creative Cuts: Plushoween Creative Cuts |  Favor Bag Accessory - Pumpkin | Favor Bag Accessory - Halloween for spider and scar
Thanks so much for stopping by!

7.21.2017

Plushoween with Pamela

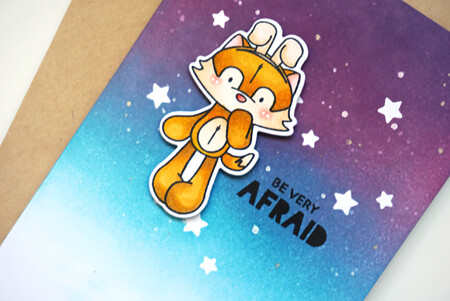
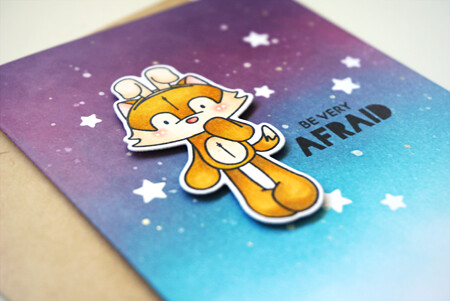
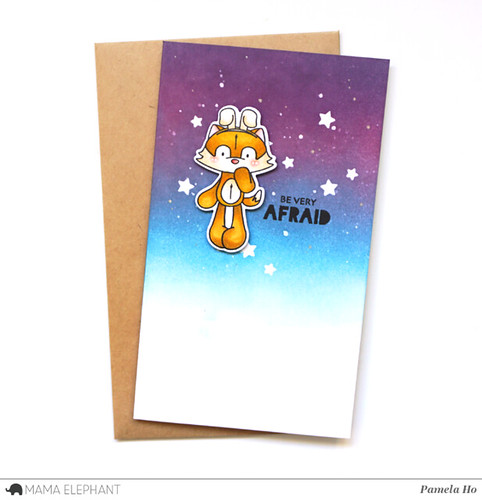
Hello and good morning everyone! This is Pamela taking over Mama Elephant blog for a spooky (not really...) card featuring the new Plushoween stamp set. I first stamped and coloured this cute wanna-be bunny out and coloured using my copics. This was just some very basic colouring where I start with the darkest colour, and then go over with my lighter ones to create the gradient.   

DS - Plushoween - 2 

 Using post-its, I masked off a few stars in the background, then I blended a mixture of distress inks directly onto the card base. What's a spookier colour combination other than purple and blue!

  DS - Plushoween - 3 

 I flicked some white paint, water and glitter onto my card base before adhering the little fox and finished the card off by stamping the sentiment.

  DS - Plushoween - 1 
  Supplies Used:
Stamp Sets: Plushoween
Creative Cuts: Plushoween creative cuts, Lots of Stars
Copics: Y24, Y26, Y28, YR23, E53, E51, E50, R32, R02, R08, R00
Inkpads: Broken China, Dusty Concord

7.20.2017

Plushoween with Nichol

Hello! Nichol here today with a trio of Halloween Favor Bags featuring the new Plushoween Stamps and coordinating dies based on THESE Valentine's Favor Bags I made back in February. I love the look of a little window (so you can see what's inside) and a sweet critter peeking out of the opening! The Plushoween images are perfect for adorning some spooky themed treat bags!

ME_PlushoweenFavorBags1

The Favor Bags were die cut from dark gray cardstock and the scalloped rectangle panel was die cut from black cardstock. The stitched heart from the Favor Bag Collection was used to die cut a window in both the panel and favor bag. On the black panel, the spider web and a greeting from Plushoween were stamped with Versamark Ink and heat embossed with white embossing powder.
Gift tags were die cut from orange cardstock using the Favor Bag die and a greeting form Plushoween was stamped on each with black ink.

ME_PlushoweenFavorBags4

Images from the Plushoween Stamp Set were stamped on smooth white cardstock and colored with Copic Markers before being die cut with the coordinating Plushoween Dies.
The large critter image was adhered behind the heart opening in each black cardstock panel and then the panel was backed with a piece of clear acetate before the panel was adhered to the Favor Bag.

ME_PlushoweenFavorBags5

The Favor Bags were assembled and finished by adding some paper shred inside, some Halloween candies and then tying each bag closed with Halloween twine adorned with the stamped gift tag.

ME_PlushoweenFavorBags6

Video:
To watch the creation of these Halloween Favor Bags from start to finish, click HERE or watch below:


Mama Elephant Supplies I'm using:

7.19.2017

Plushoween With Deasy

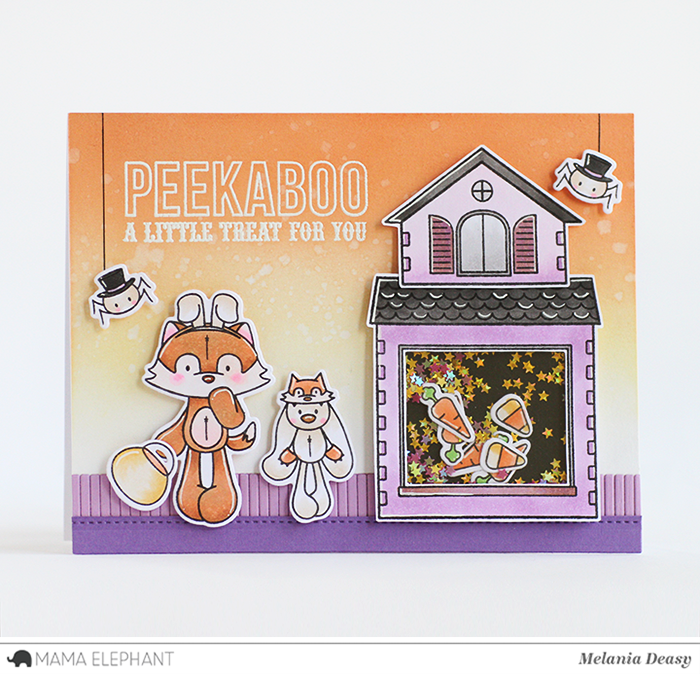
Hi all! It's Deasy here. Today I want to share my shaker card using Plushoween stamp set. I LOVE this set because it's so versatile, you can combine it with other dies and stamps!


Mama Elephant supply that I'm using :
Plushoween for the halloween images
Plushoween Creative Cuts to die cut the halloween images
Toy Shop for the shaker house image
Bootastic for the sentiment using white embossing powder
Fringe Creative Cuts to die cut the fringe on purple card stock
Fine Trimmings Creative Cuts to die cut the landscape on purple card stock


I stamp the images then color it using copic. To color the background, I'm using Dye Ink with blending tool then splash water with my brush.


Thank you so much for stopping by!

Hugs,

Melania Deasy

7.18.2017

Plushoween with Laura

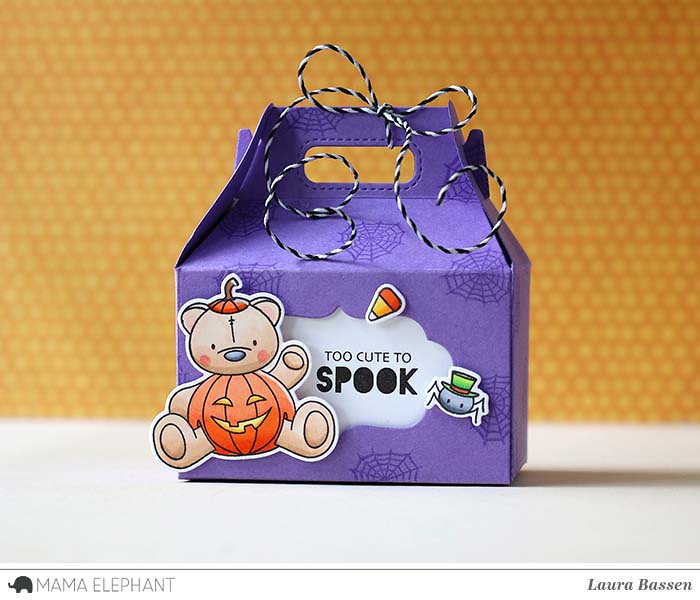
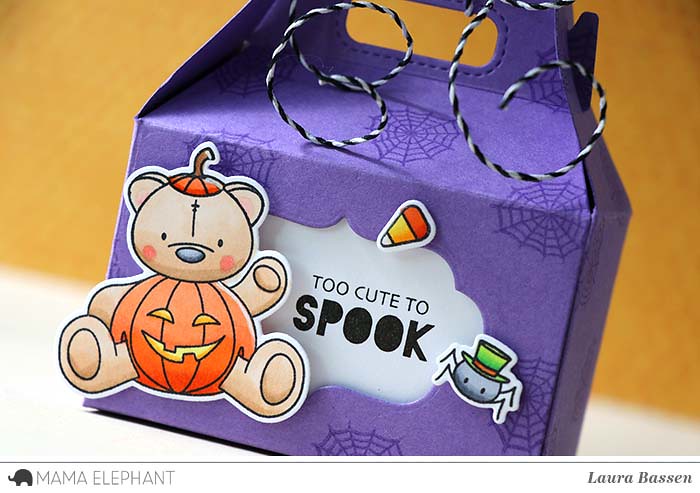
Hi there! Laura here and today I have a cute favor box to share with you featuring the adorable Plushoween set.

Mama Elephant-Plushoween 
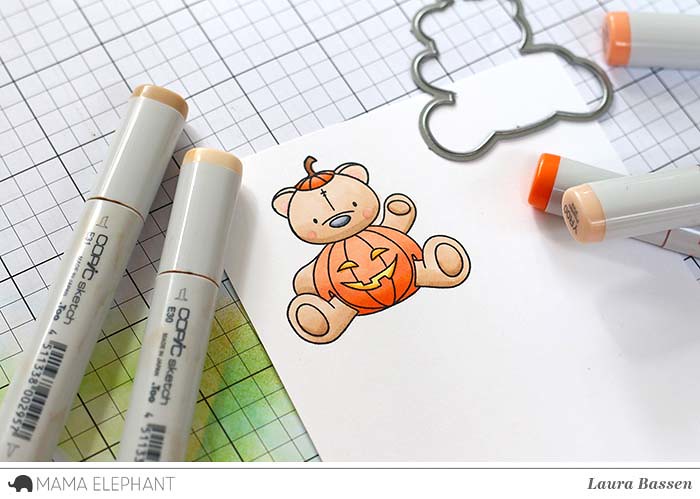
I started by stamping a few images from the Plushoween stamp set in Memento Tuxedo black ink. Then I colored the images with Copics and used the coordinating Plushoween creative cuts to die cut the images out.
 Mama Elephant-Plushoween 
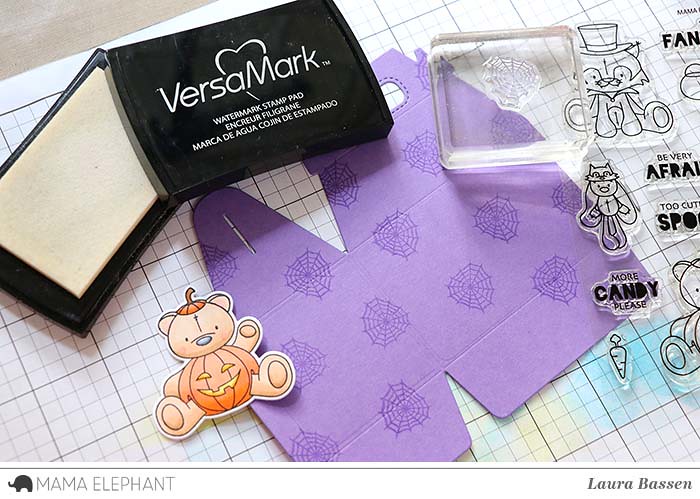
I stamped the spider web image from Plushoween using Versamark ink to create a fun background pattern on the Gable Box

Mama Elephant-Plushoween 
I used another die from the Gable Box creative cuts set to create the window for the "Too Cute to Spook" sentiment. 

Mama Elephant-Plushoween 
These adorable Plushoween images are perfect for dressing up festive little Halloween favors. That's all for today! Thanks so much for stopping by!