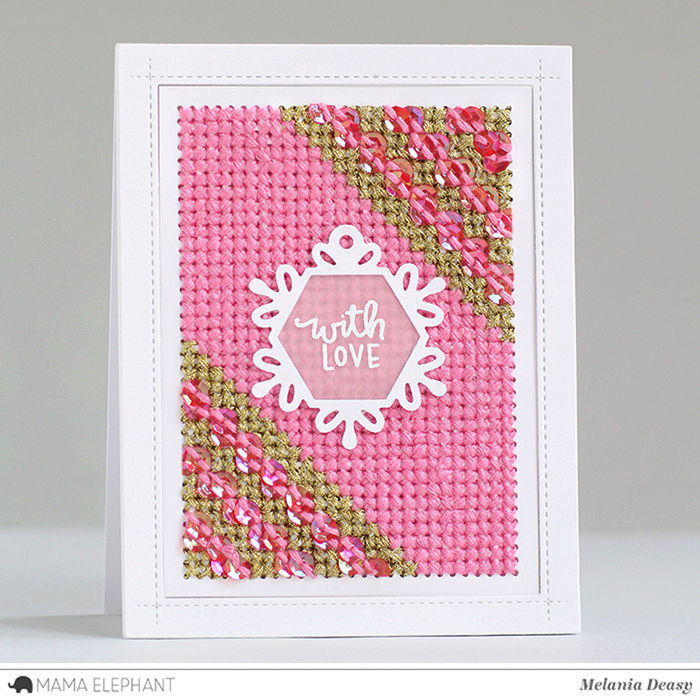
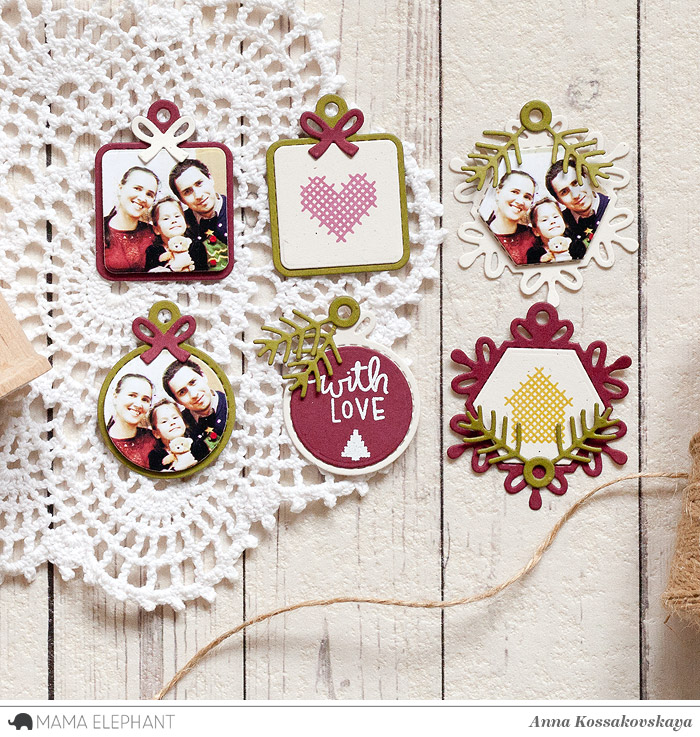
Hello, Mama's friends! Anna is here today with my Designer Series project here I highlighted new Pegworks Creative Cuts. I wasn't a fan of cross stitching before, but this die changed me! I like how textures combine here - the card stock and the threads. And I went further and added more textures on my card.
I started with preparing the stitching panel - die cut it of the cream card stock. Also I made the scheme on the piece of paper. I chose the rows of simple Holiday images for my stitching - I was inspired by some pictures from Pinterest. Also I thought about the color scheme, it was important for me. I didn't want to overwhelm the resulting image with colors.
Here I used next threads colors: light yellow, orange, brown, light pink, mint, green and white (only for the snowflakes).
When I finished the stitching, I adhered my panel to the card base. Also I used the frame - you can take a paper with wood grain texture, the thin wood sheet or to stamp the texture by yourself. Such addition brings such a finished look to the card!
And also I added some labeled sentiments stamped in black.
Have a good day!
Supplies list:
ME stamps: Labeled Messages and Occasional Labels for the sentiment
ME creative cuts: Pegworks
Other: cream and woodgrain card stock, stitching threads, black inks for stamping
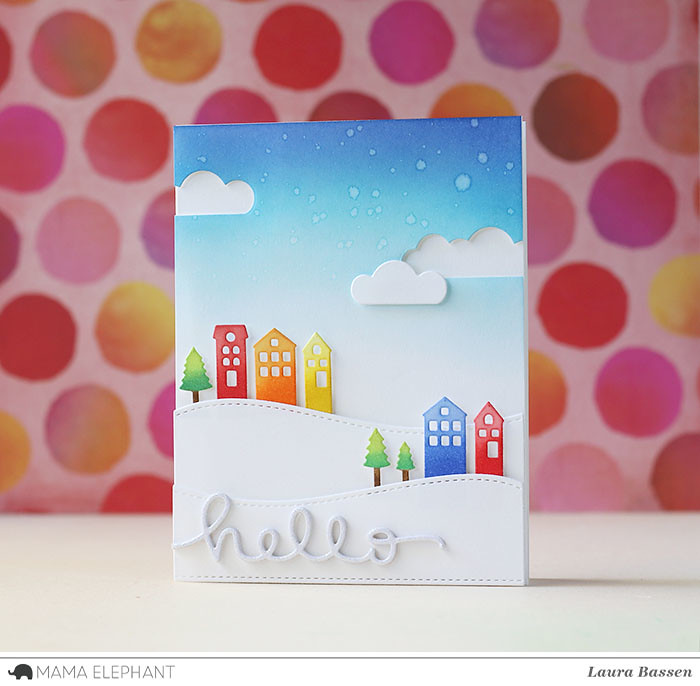
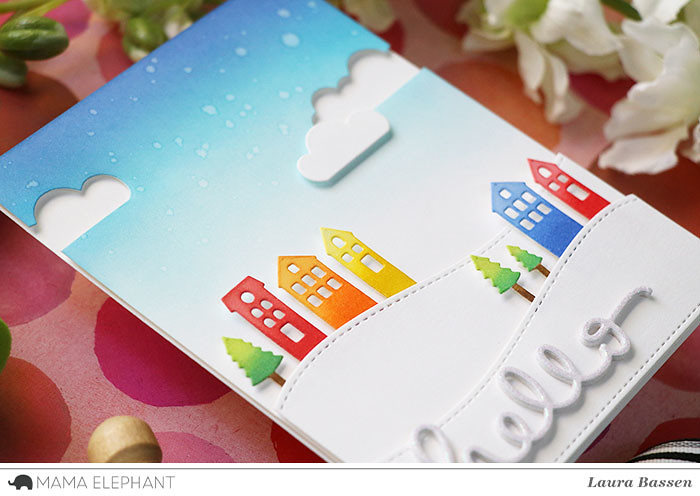
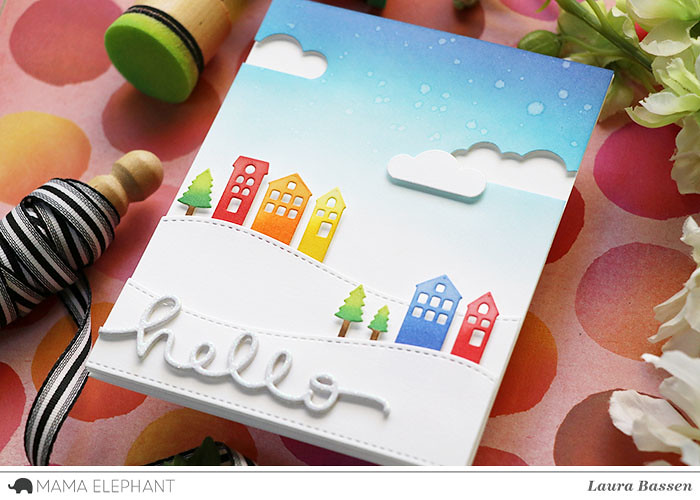
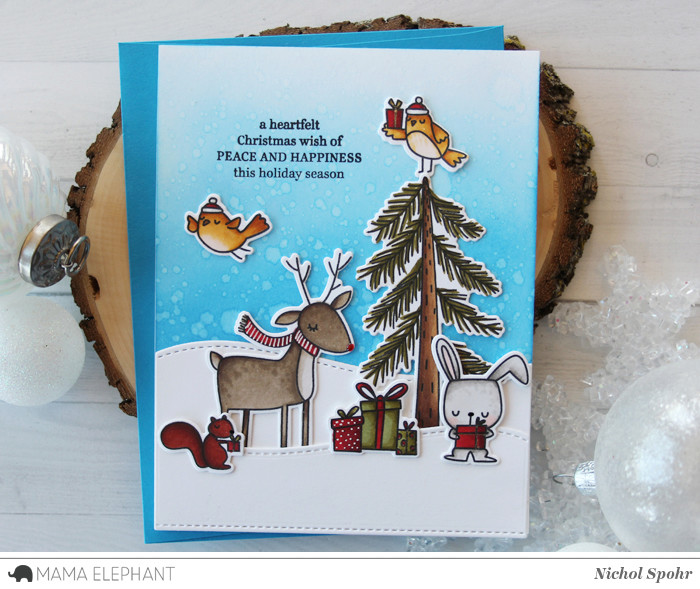
To begin I blended distress inks on the background for the sky and then die cut two of the clouds into the blended background.
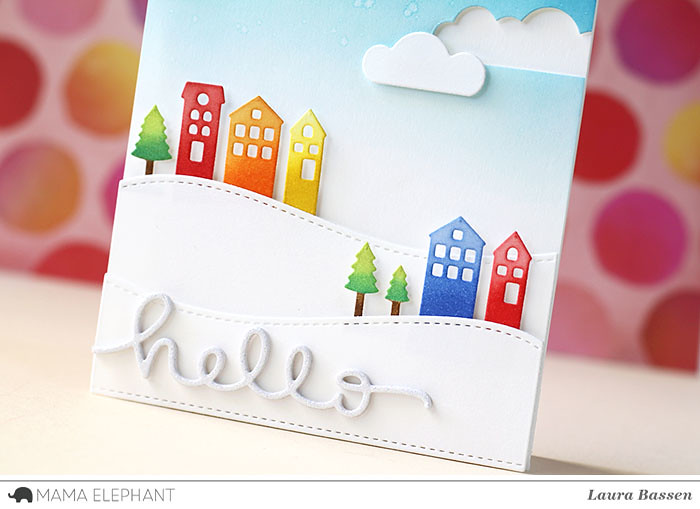
I die cut the houses & trees and blended distress inks onto them as well and tucked them behind the hills.
For the sentiment I used the "hello" word die that is included in the On the Hills set and stacked several together for dimension topping it off with one that was cut from glittered cardstock.
That's all for today! Thanks so much for stopping by!
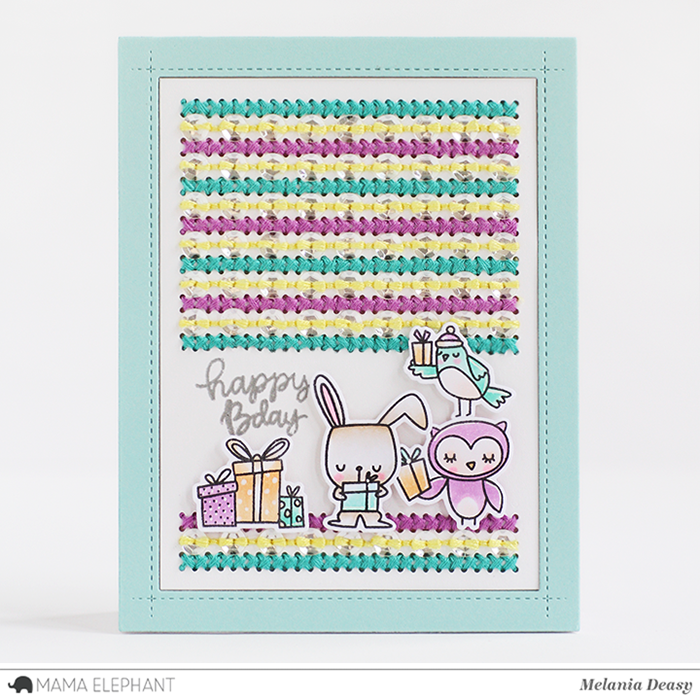
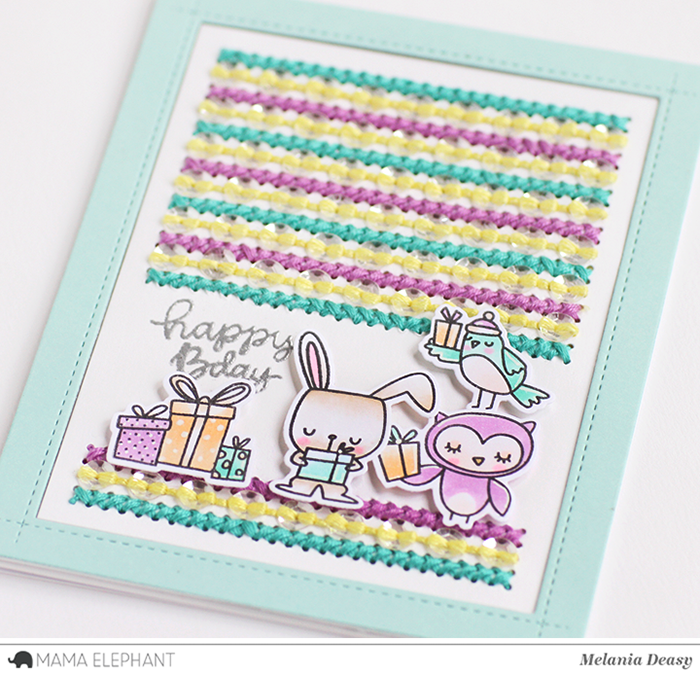
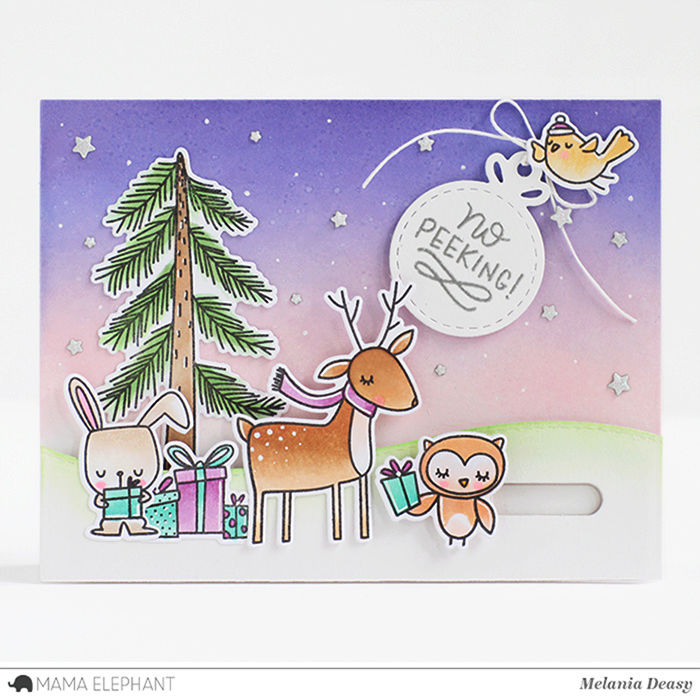
Hi all! It's Deasy here.Today I want to share my birthday card featuring Whimsical Winter. I LOVE this stamp set because it's full of adorable images and so versatile! For my card, I combine it with Pegworks Creative Cuts
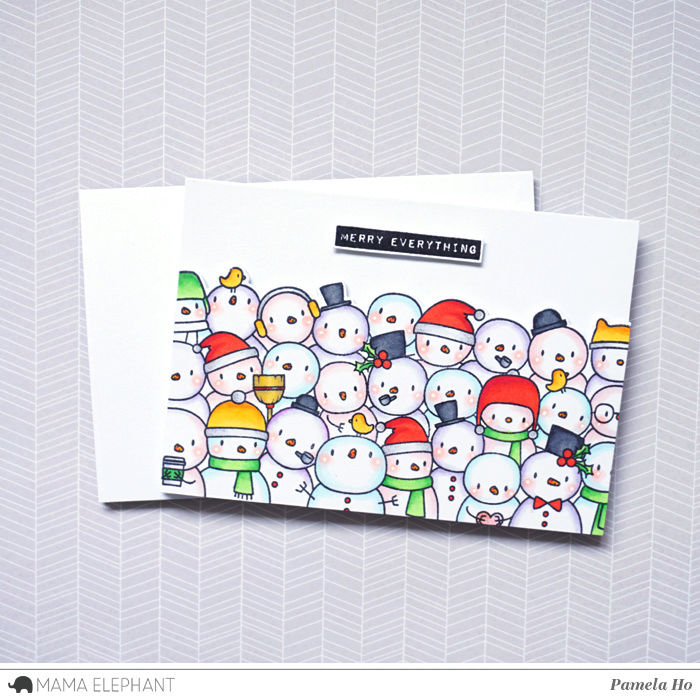
Hello! Nichol here today with Designer Series project. Today I have two So Many Snowmen cards to share with you. One is a full panel of snowmen that resembles a patterned paper with three small greeting labels adhered to the center. This card features some masking.
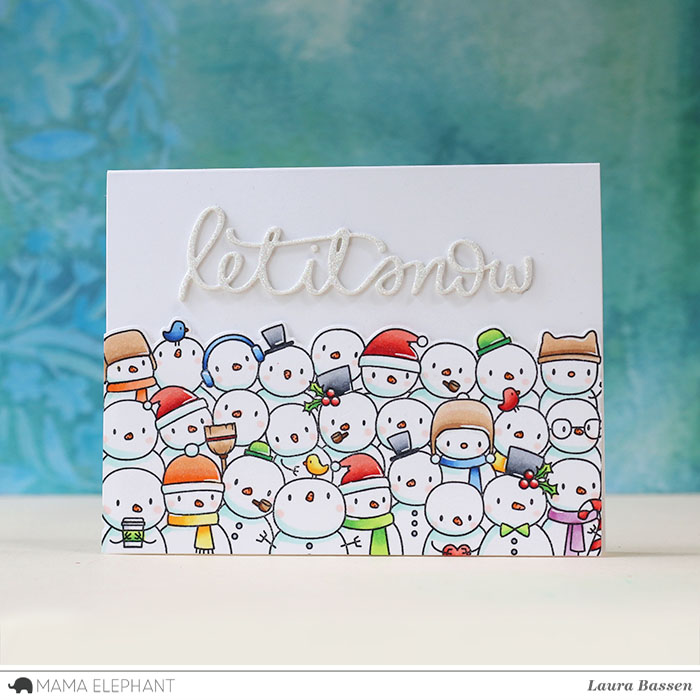
The second card features a snowmen border with an inlay and popped up die cut sentiment and includes a video tutorial. I can't get enough of these adorable snowmen and I bet you can't either!
I kept up with the "let it snow" theme for both cards. The first with three Occasional Labels stamped with "let it snow" and the second with a dimensional die cut inlay greeting.
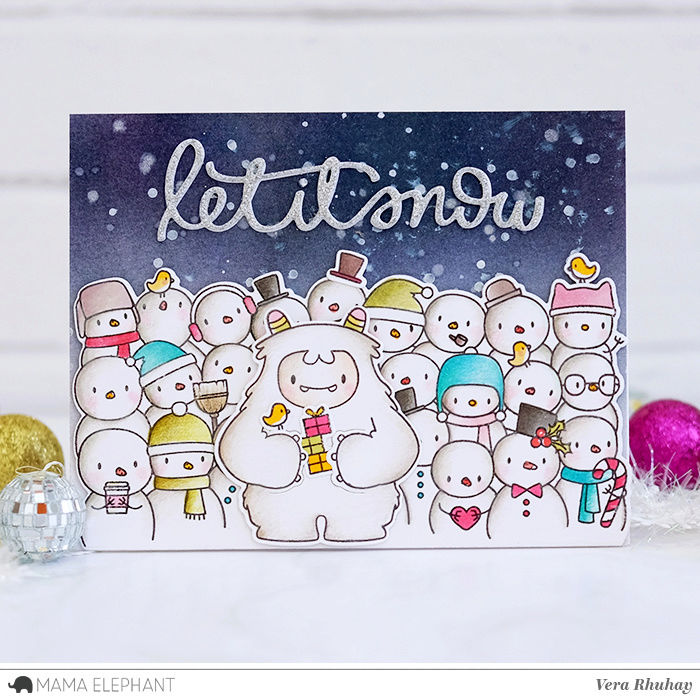
I applied Salty Ocean and Faded Jeans Distress Oxide Inks to the background, spritzing with water from a Distress Sprayer, blotting dry, and setting the background aside to air dry. The water droplets give the illusion of a falling snow background!
The So Many Snowmen border was stamped on smooth white cardstock using Jet Black Ink. The image was colored with Copic Markers, die cut with the coordinating So Many Snowmen die, and embellished with white, black, and stardust pens to add detailing to the adorable snowmen.
The border was adhered along the bottom edge of the background.
A sentiment from Peaceful Wishes was stamped on the background using Versamark Ink and heat embossed with white embossing powder. The "let it snow" greeting from the So Many Snowmen Creative Cuts Dies was die cut from the background above the embossed greeting, making sure to keep not only the greeting but all the small inside pieces too.
The greeting was also die cut four more times from smooth white cardstock.
Adhesive was placed on the front of a white top fold card base and the panel was adhered. Then a white script greeting was inlaid into the background along with the blue sky die cut inside letter pieces. Four white die cut greetings were stacked one on top of another, finishing with the blue die cut greeting.
The card was finished with a scattering of Nuvo Crystal Drops in Simply White.
The full panel of snowmen was achieved by masking the image twice on a 4 1/4" x 5 1/2" piece of smooth white cardstock. The snowmen were colored in with Copic Markers to create an entire background of colorful snowmen!
The "let it snow" sentiment from the Occasional Labels Stamp Set was stamped three times on smooth white cardstock using black Versafine ink, trimmed out leaving a thin white border and adhered to the center of the background with foam adhesive as shown.
Here's a 1 minute round up video of the October Release! Enjoy!
I also want to share two pop-ups I created with the new Inside Pop - Celebrations Creative Cuts dies. I love them so much!
Watch the video below!
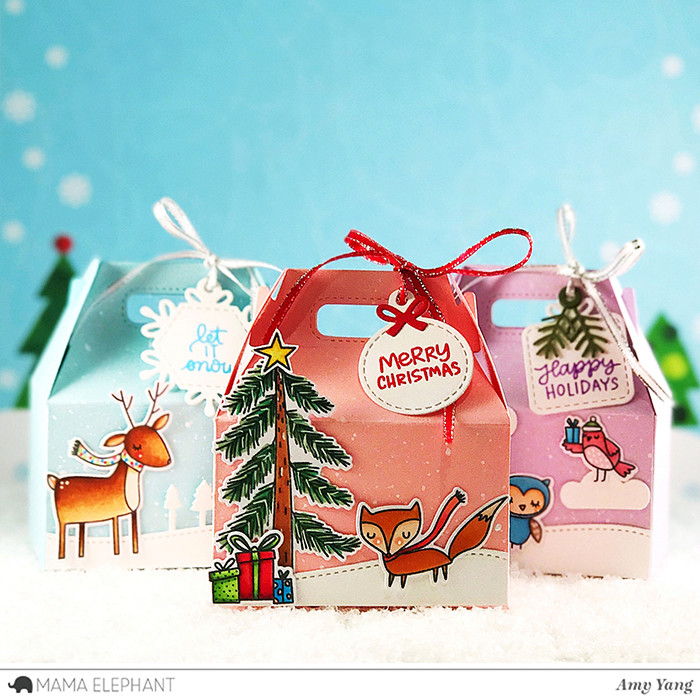
Finally, sharing one of the cards from the video using Whimsical Winter and On the Hills!
To celebrate the new release, Mama Elephant is picking 3 winners to win their choice of stamp set! Winners will be chosen at random from the collective blogs in the Stampede. You have up to 4 chances to qualify to win! » 1. Leave a comment on this blog post «