Image Map

9.30.2019

Star Guest Designer: Kine Johnsen

Today we have Kine Johnsen, one of our Star Guest Designers take over the blog with a plethora of gorgeous cards!


Hi there, my name is Kine, I’m 37, and I live in a small town in Norway with my husband. Forever the book nerd, I worked in a bookshop for several years, and for the last ten years my job has been in a high school library. I enjoy binge watching tv shows, reading, hanging out with my friends and paper crafting in my time off.

 I started out as a scrapbooker, but I slowly turned more towards card making, and about four years ago I bought my first stamps and dies (the Mama Elephant Pandamonium, actually!) and I was hooked instantly. My crafting style is a bit “more is more”, and I love making scene cards. Cute critters are my favorites, and I love imagining a little story for the scene while creating. Card making is one of the things that really makes me relax, my favorite days are when I can escape to my craft room with an audio book and my Copics.

I’m super excited to be a part of the Mama Elephant 7th anniversary release, and I had lots of fun creating with these awesome and fun new stamps and dies.


9.29.2019

Little Penguin Agenda with Vera

Hello everyone, it’s Vera here and welcome to the Mama Elephant Designer Series blog! Today I’d like to share with you my card and cute tote bag featuring Little Penguin Agenda and Favor Bag Accessory - Penguin - Creative Cuts

To begin, I prepared my card and the tote bag as shown in the picture below. First, I inked blended my based card using Distress Ink and die-cut it with Basic Rectangles Frame - Creative Cuts. All images from the Little Penguin Agenda was stamped on watercolor paper, colored with Tombow Dual Brush Pens Marker and cut them out with Little Penguin Agenda - Creative Cuts

Here is the finished card. 

FYI: the sentiments are from Scripty Xmas and Holiday Messages 
 
For the tote bag, I die cut on watercolor paper - 200grm. So it's easily inked blending with distress ink, easy to assemble and sturdy enough. 

That's it today, I hope you enjoyed my project! Thank you for stopping by!
Xoxo, Vera

9.28.2019

Favor Bag Accessory - Penguin with Thi

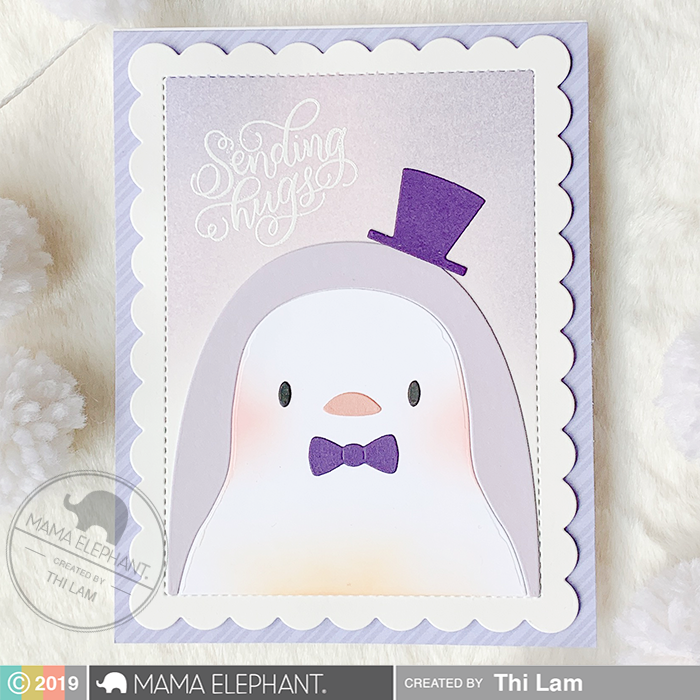
Thi here and today for my designer series project, I made a card that was made of mostly die cutting, minimal ink blending and one sentiment stamping! The new FBA Penguin Creative Cut is so cute! It was designed to go with the Favor Bag - XL Creative Cut but I think it makes for the cutest card! I am one who love products that can do double duty - so, let's begin!

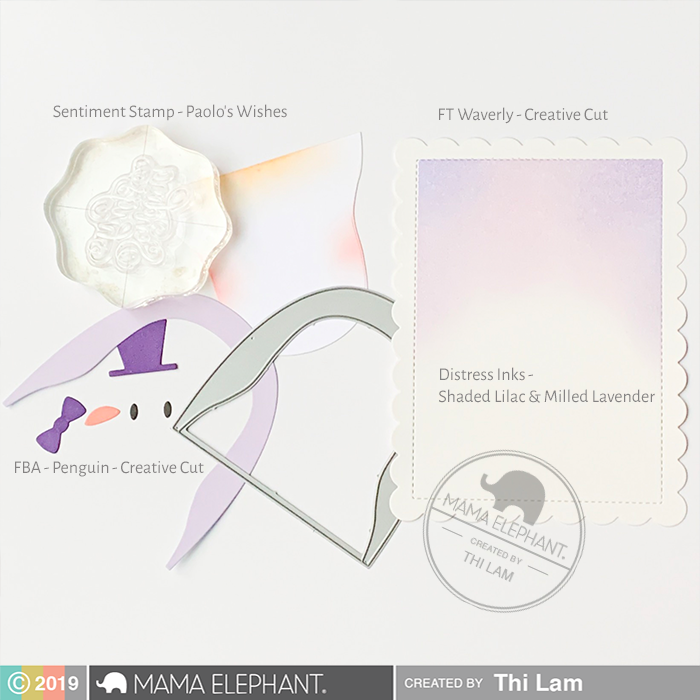
To start, I die cut all my pieces for the FBA Penguin onto colored card stock. You can choose whatever you like here, but because purple is my favorite color, I went with purple today! While my die cutting machine was out, I also die cut the large frame from FT Waverly - CC because I found out that the FBA series fit into this frame perfectly! I'm also in love with those large feminine scallops.

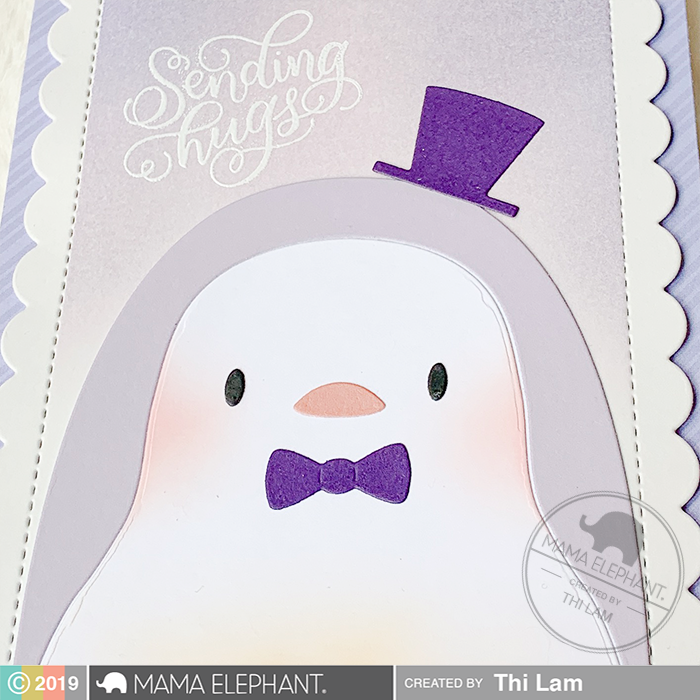
Moving on to my minimal ink blending! I took out my Distress Ink cubes and masked off the scallops on FT Waverly and ink blended in Distress Ink Shaded Lilac and Milled Lavender. For the penguin's white face and tummy, I lightly ink blended with Distress Ink in Spun Sugar (for the cheeks) and Dried Marigold (for the belly).

Before putting together my penguin directly onto the frame, I heat embossed "Sending hugs" from Paolo's Wishes. I'm so happy Mama Elephant came out with smaller versions of these beautiful sentiments! It fits perfectly on my card and adds a little elegance to all the cute happening here.

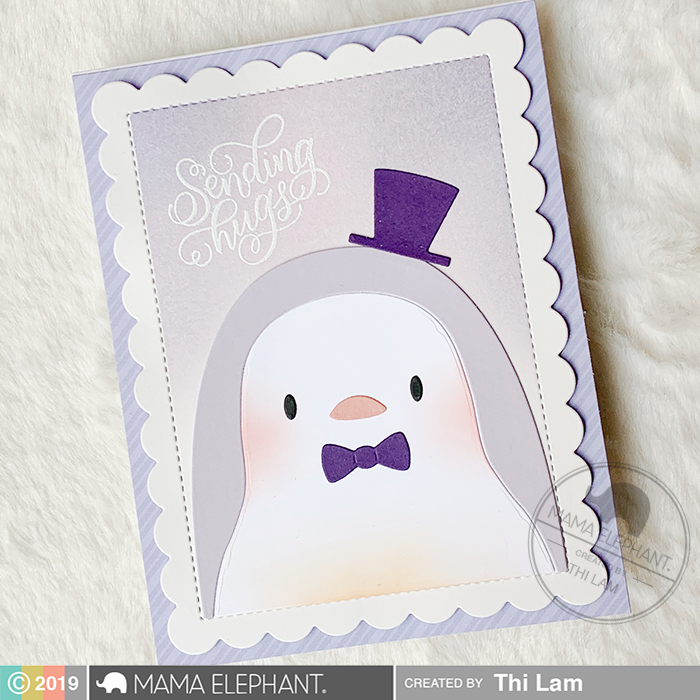
Time to put together my penguin! I used the guide online to line up my pieces and glued it directly onto the Waverly frame piece. I backed this entire thing with foam tape and adhered it to an A2 card base I already backed with coordinating pattern paper and my card is finished!

That's it from me today! Thank you for reading and happy crafting!

9.27.2019

STAMP HIGHLIGHT: Written in the Snow

Today is the last day of our Stamp Highlights Series for this month's release! Today we are looking at the new Written In the Snow stamp set! How awesome that these sentiments from this set can be used as greetings in the snow and in the sky?!


Keeway used the Written in the Snow sentiment to write in the skies! We love how she used it as Santa's smoke trail. She also created a sweet scene below with Snow Friends and Hilly Neighborhood.
Back to top


Tania created some snowy magic with embossing powder and pom poms!


 Mette combined the Written in the Snow sentiment with the previously released A Cookie Christmas gingerbread house, making it look like smoke instead of snow.


Fun shaker card by Vera, she paired the Written in the Snow set with Snow Friends stamp set.


Thi combined Written in the Snow with Snow Angels perfectly here. It looks like those two critters wrote "Holiday Cheer" onto the snow before laying down to make themselves into adorable snow angels!


Amy made a fun wobble card combining the Written in the Snow sentiment with the Snow Angels.

Nichol paired the Written In the Snow Sentiment with the Pine & Posy Border and Fuzzy Hugs image for this partial die cut scene card.

Thank you for joining us and our team of amazing designers! Come back tomorrow as we start our Designer Series!

9.26.2019

STAMP HIGHLIGHT: Snow Angels

Don on your mittens because Snow Angels is today's stamp of the day! Big thanks to our guest designers for joining our Stamp Highlights with these fabulous projects!


Mixing glitter with some vellum, Tania's card is full of sparkle!


Maria's card is truly adorable with her gang of snow angel making buddies!


Kine created a snowy scene on a favor bag, perfect for those holiday gifts!


Keeway combined these cute Snow Angels with a sentiment from Written in the Snow to create a cute scene!
Back to top


Mette created these two adorable "one layer" cards, combining the Snow Angels with the Written in the Snow sentiment.


A cute card and tag set by Vera. She paired the Snow Angels stamp set with the Handcrafted Happiness stamp set to create this cute tag.


She also created a set of gift card/photo card tote bags using the Framed Tag - Delancey Creative Cuts


We love the fun scene Amy created with the Snow Angels!

9.25.2019

STAMP HIGHLIGHT: Mini Merry Messages

Welcome back to another day of Stamp Highlights! Today we are featuring the new Mini Merry Messages! Pop these little notes of joy into just about anything! Our fabulous Design Team members are here to show you the different ways to use them!


 We adore this card from Keeway combining the snowflake ornament from Joy Ornaments, sentiments from Mini Merry messages, and Little Agenda Penguins to create this holiday card!


Some simple and elegant tags made by Mette, perfect for all your Christmas gifts!


 Thi heat embossed Mini Merry Messages onto speech bubbles from Polaroid Fun - Creative Cuts to add a little storytelling to this sweet penguin scene.
Back to top


The best way to use the Mini Merry Messages is with the Little Agenda Series, just like how Vera did here!

9.24.2019

STAMP HIGHLIGHT: Oh Puppy Tree

We have another Stamp Highlight for you today! We have a pile of puppies waiting to celebrate the holidays with you! It looks like the Design Team had a lot of fun creating these projects with the new Oh Puppy Tree stamp set!


We love how Mette created a one layer scene, looks like the puppies are having so much fun for Christmas!


Such a sweet card by Thi. We love the way she colored all those puppies from Oh Puppy Tree!
Back to top


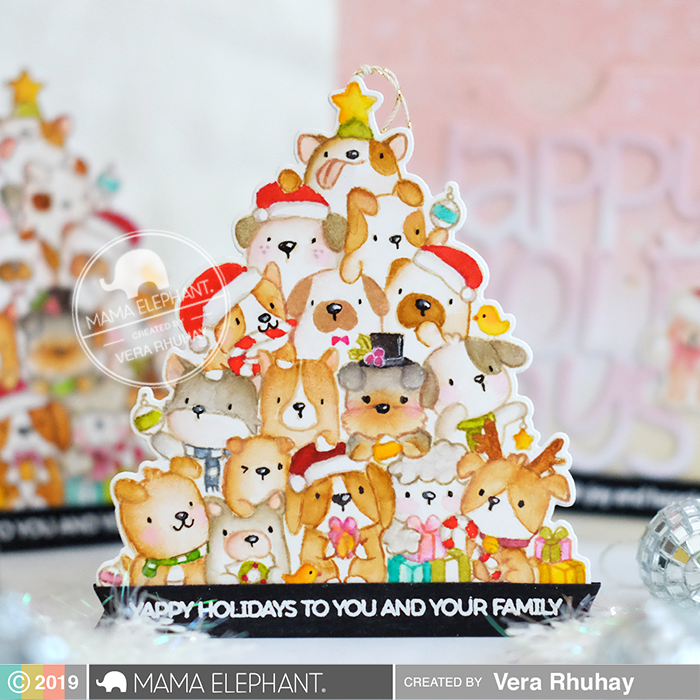
Vera tucked the Puppy Tree into an envelope she made with the new Big Happy Holiday Creative Cuts.


Amy created an adorable card combining the Oh Puppy Tree with the Galactic Cover, Landscape Trio, and Gatefold X Fence Creative Cuts.