
So, since we're still newbies, we've been trying and testing new things. Doing things a bit backwards this time I think. Over the next week or so, I'll be sharing the projects I created using our stamps. Hope you likes!
I thought it would be fun to show you just how versatile Cup of Wishes is! I challenged myself to make a feminine card and a masculine card! Here's what I came up with!
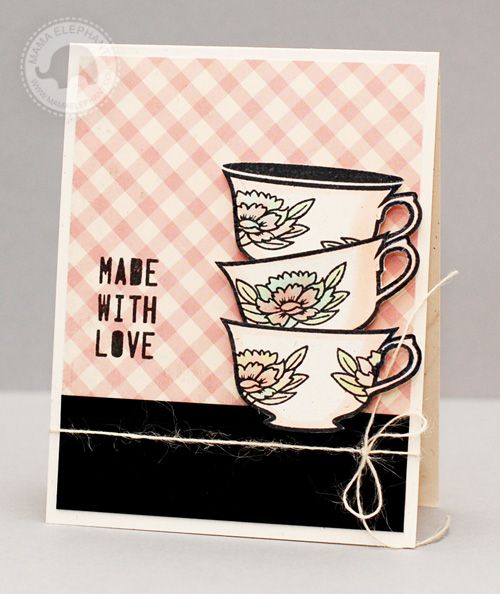
First I stamped the cup and flowers - 3 times. I then colored the flowers with Copic markers and cut them out. I used a finger xacto knife for the inside of the handle. Wasn't too bad. Didn't get a hand cramp so that's always good! I then stacked the cups onto the card and popped them up a bit using 3d foam. The Made With Love sentiment is from No Peeking.
I finished off the card with a bit of rustic twine. It really helped balanced the card and tied together the vintage chic feel I was going after.
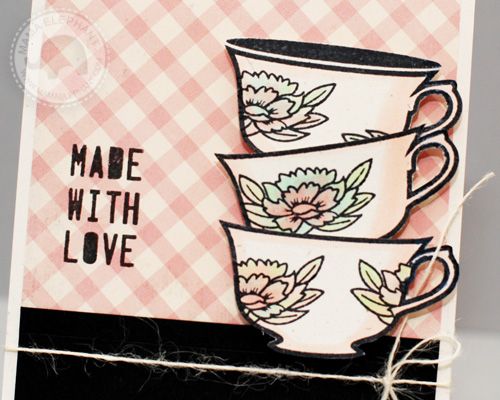
A little closer shot of my mediocre coloring skills. :P
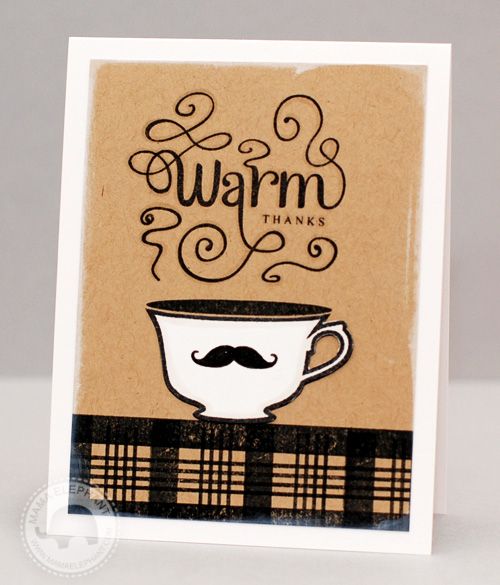
I stamped the Warm greeting onto kraft cardstock then kind of outlined it a bit with a grey Copic marker. If you look closely you can see a little shadowing. I chose to use the THANKS sentiment to be tucked into my steam. (Can never have too many Thank You cards. You can always leave it blank and stamp in the tucked sentiment later -- depending on the occasion!) Moving along, the plaid pattern is created with Basic Borders.
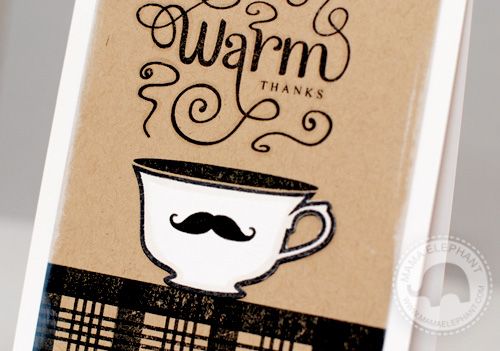
I stamped the cup image onto the kraft cardstock and again on white cardstock. Then I stamped the mustache onto the white cup and cut it out to adhere on top of the kraft base. White over kraft really pops! I freely swiped white ink over the edges of the kraft. I found that by doing this it played up the kraft and white design here specifically. Really like the results!
Fun, right? Two completely different cards from Cup of Wishes! I would love to see your take on it, once you get your stamps, of course! If you do, please link up and share with us on Flickr or Facebook. Nothing makes us happier than seeing your creations with our designs. So please don't deprive us of that simple joy! :)
Have a great weekend, everyone! Happy stamping!


Oh I love your take on this masculine/feminine challenge! Both are perfect! And your coloring skills are far beyond "mediocre" Kryssi! I think they have a pretty antique/watercolor look to them! Thanks for sharing your work!!
ReplyDeleteawesome!! love that you did a masculine card and feminine card!!! so versatile! and your copic coloring skills are awesome!!! i am jealous!! i own 2 copic markers, that's how intimidating it is to me!! lol!
ReplyDeleteI love them, both!! This is one of my favorite sets, right now!....I must buy this set! :)
ReplyDeleteAs soon as I can afford it, this is the set I am buying! You had me at the girlie card, because I love teacups and all, things feminine, but I LOVE that you showed how versatile the set can be with some imagination! I always find masculine cards so much harder to make and I love yours!
ReplyDeleteI agree with the other comments, your Copic coloring skills are excellent!
Ohmigosh! LOVE the two cards. You totally rock the coloring AND showing us the versatility of this set. I've been on a latte cup kick and cutting out the inside of the handle is a bear, that's for sure. Tip for you - after you cut out your image, take a black multiliner and go around the cut edges to hide the white. I've tried using the Copic markers but the cut edges wick into the main image (so DON'T do that LOL). Thanks for sharing.
ReplyDeleteI cased your feminine card today. I have had it pinned for a while but took the opportunity today to make it for Valentine day. Thanks for sharing!
ReplyDelete