On Point Borders isn't anything earth shattering, it was designed for my own needs for some more cute and cool background building patterns. I really like how they look inked up, and the borders really suit the whole Spring theme nicely as an alternative to... dots?!
I've got a little something extra special for you today. Aside from Mama Elephant, I still do some freelance design work for We R Memory Keepers/Lifestyle Crafts. As one of their designers, I get to extend a 20% discount code to my readers that is good for your entire purchase at www.shopwer.com. Just enter SUGAR at checkout. :)
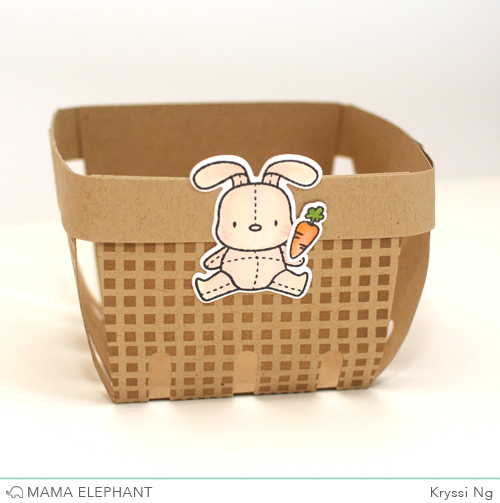
This is what it looks like completely assembled. Be sure to leave a space on the corners. To make it look more like a berry basket, squish down a bit.
I've got a little something extra special for you today. Aside from Mama Elephant, I still do some freelance design work for We R Memory Keepers/Lifestyle Crafts. As one of their designers, I get to extend a 20% discount code to my readers that is good for your entire purchase at www.shopwer.com. Just enter SUGAR at checkout. :)
I have a little tutorial on how I created this cute berry basket using THIS die set and On Point Borders and Honey Bunny.

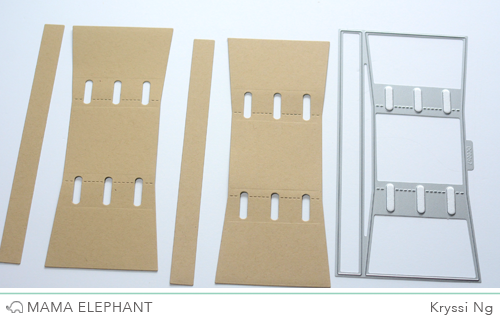
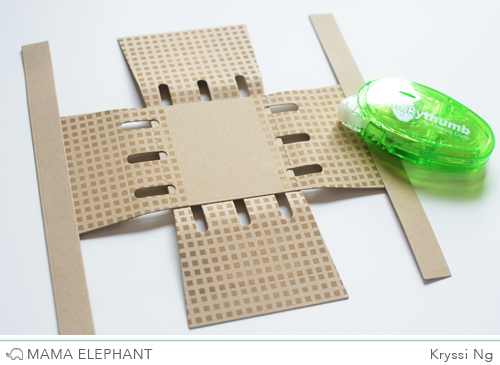
This is how it looks when you die cut the basket twice.
I stamped the square border from On Point Borders to create that basket looking pattern using our Hazel ink.
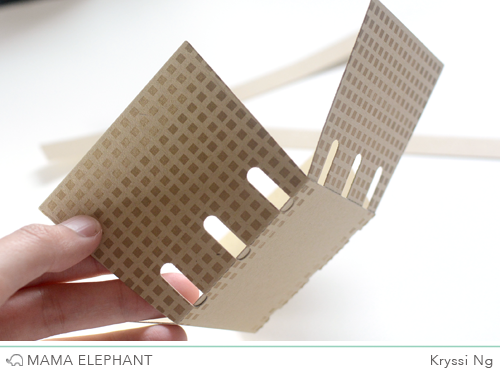
Once you're done stamping, adhere the two basket panels together like this.
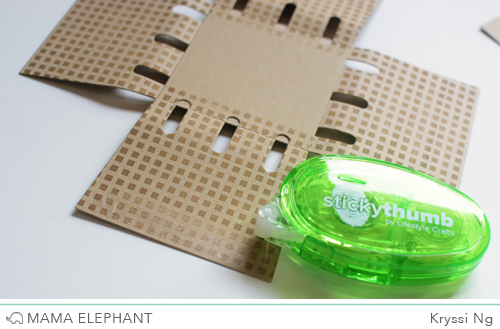
Now to shape the basket together, I use the Sticky Thumb adhesive runner and ran it on the top of each side first.
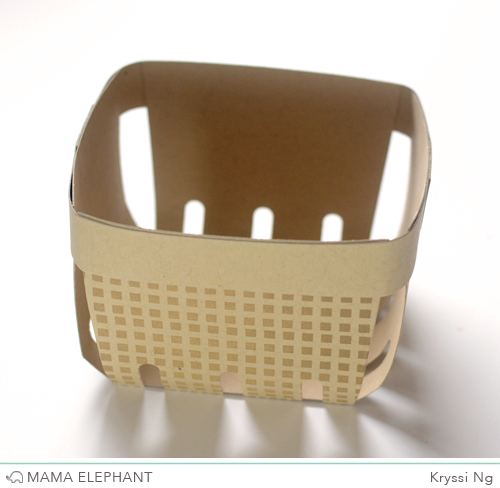
Continue adhering the sides together
This is what it looks like completely assembled. Be sure to leave a space on the corners. To make it look more like a berry basket, squish down a bit.
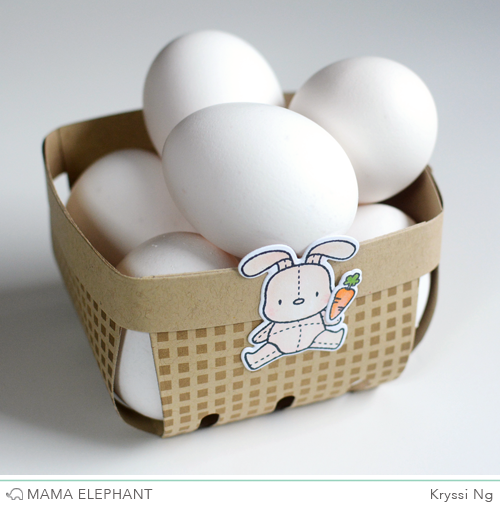
Then stack it with eggs! Be careful handling your eggs, I might've dropped a raw egg while creating this project. :(
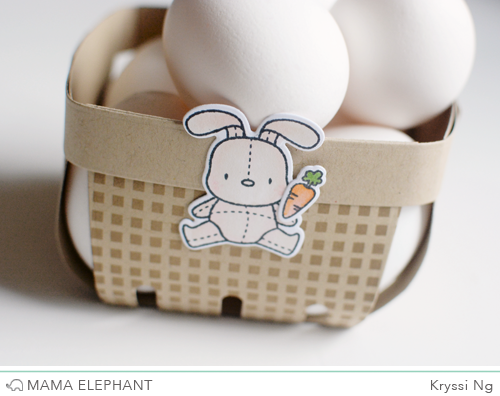
Oh yes, that's Honey Bunny and it's coordinating die in action!
See you tomorrow. :)




How cute! You are so creative!
ReplyDeletehow totally cute..
ReplyDeleteLove that berry basket! Your background patterns add the perfect finishing touch!
ReplyDeleteVery cute and creative!!!
ReplyDeleteAdorable! I really love the Honey Bunny set!
ReplyDeleteSOOOOOO cute!
ReplyDeleteThinkin I need On Point, too. Very Sweet Basket.
ReplyDeleteSo cute!! What a fun Easter Basket!!
ReplyDeleteSo cute! I'm totally looking forward to the Honey Bunny dies
ReplyDeleteCan't wait for Honey Bunny to be back in stock and this project is so creative!
ReplyDeleteSuper cute - love that die!
ReplyDeleteVery cute! Love it!
ReplyDeleteTotally adorable basket!! Now I want that die! :) And I have the Honey Bunny set, now just need it's die!!!!!!
ReplyDeleteWow what a great die and your project rocks the nice thing about this is baskets scan be used for all kinds of goodies not just for the Easter Bunny
ReplyDeletefantastic project!
ReplyDeleteSo FUN!!! Love this!
ReplyDeleteWhat a cute project and oh my, that die!
ReplyDeleteThanks for sharing the wonderful tutorial.
ReplyDeleteLOVE your sweet basket.
Crafty hugs,
D~
DesignsByDragonfly.blogspot